
The Honeywell T4 Pro is a programmable thermostat designed for heating and cooling systems, offering compatibility with heat pumps and standard HVAC setups. It features OpenTherm compatibility, remote temperature sensors, and energy-saving modes, making it ideal for smart home integration and efficient temperature control.
1.1 Overview of the T4 Thermostat
The Honeywell T4 Pro Programmable Thermostat is a versatile and user-friendly device designed to regulate heating and cooling systems efficiently. It supports various HVAC configurations, including heat pumps and standard systems. The thermostat features a sleek design, backlit display, and compatibility with OpenTherm technology for precise temperature control. Its programmable functionality allows users to set schedules, optimizing comfort and energy savings. Designed for ease of use, the T4 Pro integrates seamlessly with smart home systems, offering advanced features like remote temperature sensing and energy-saving modes.
1.2 Key Features of the T4 Thermostat
The T4 Pro Programmable Thermostat offers a range of features, including OpenTherm compatibility for modulating boilers, remote temperature sensor integration, and energy-saving modes. It supports 2-heat and 1-cool stages, making it suitable for various HVAC systems. The thermostat also features a large, clear display and easy-to-use controls. Its programmable scheduling allows users to customize temperature settings, enhancing comfort and energy efficiency. Additionally, the T4 Pro is compatible with 24-230V systems and offers optional cover plates for a seamless installation.
Preparing for Installation
Begin by ensuring the system is compatible with the T4 Pro thermostat. Gather necessary tools and materials, and switch off the HVAC system’s power supply for safety.
2.1 System Requirements and Compatibility
The Honeywell T4 Pro thermostat is compatible with 24-230V heating and cooling systems, including heat pumps and standard HVAC setups. It supports 2-heat and 1-cool stages, ensuring versatility for various home configurations. The thermostat is designed to work seamlessly with OpenTherm systems and remote temperature sensors for enhanced functionality. Ensure your system meets these requirements before proceeding with installation. Compatibility with most common wiring configurations makes it suitable for a wide range of installations.
2.2 Tools and Materials Needed
For a successful T4 thermostat installation, you will need a screwdriver, wire strippers, and a voltage tester to ensure safe handling of electrical connections. The package includes the T4 Pro thermostat, UWP mounting system, and Honeywell standard installation components. Additional materials like a mini centrifuge or automatic dosers may be required for specific setups. Ensure all tools are readily available to streamline the process and avoid delays during installation. Proper preparation ensures a smooth and efficient setup experience.
2.3 Safety Precautions
Before starting the installation, ensure the mains power to the heating and cooling system is switched off to avoid electrical hazards. Verify that the furnace door is securely closed and that all components are cool. Use a voltage tester to confirm there is no power to the system. Always follow the manufacturer’s guidelines and safety instructions to prevent accidents. Proper preparation and adherence to safety protocols ensure a secure and efficient installation process for the T4 thermostat.

Installing the T4 Thermostat
Installing the T4 thermostat involves turning off power, removing the old thermostat, connecting wires, and mounting the new device. Follow step-by-step instructions for a secure and efficient setup.
3.1 Turning Off Power to the System
Before installing the T4 thermostat, ensure the heating and cooling system is powered off. Switch the circuit breaker to the “OFF” position or remove the appropriate fuse. Verify the system is completely shut down to avoid electrical hazards. Use a voltage tester to confirm no power is present at the thermostat wires. This essential step ensures safety during the installation process and prevents any accidental system activation.
3.2 Removing the Old Thermostat
After ensuring the power is off, carefully remove the old thermostat from the wallplate. Gently pull the thermostat away from the wall, taking note of the wires connected to it. Avoid touching or bending the wires excessively. If the thermostat is held by screws, remove them to release it. Label each wire with its corresponding terminal (e.g., R, W, Y, G, C) to ensure proper reconnection later. Once detached, set the old thermostat aside, leaving the wires intact for the new installation.
3.3 Connecting Wires to the T4 Thermostat
With the power off, refer to the wiring diagram to match each wire to its corresponding terminal on the T4 thermostat. Align the wires with the terminal designations (e.g., R, W, Y, G, C) and secure them firmly. Ensure no wires are loose or crossed. If using a remote temperature sensor, connect it according to the manufacturer’s instructions. Once all wires are connected, gently push any excess wire back into the wall and close the terminal cover to complete the connection.
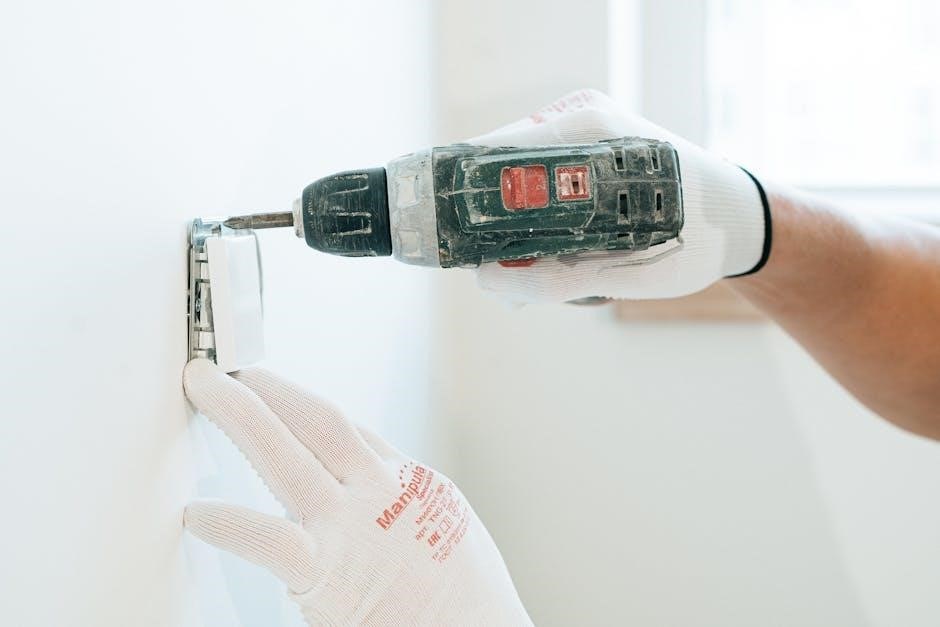
3.4 Mounting the Thermostat
Separate the wallplate from the thermostat and attach it to the wall using the provided screws. If needed, use the optional cover plate to conceal any paint gaps. Ensure the thermostat is level for proper installation. Mount the thermostat to the wallplate by aligning the tabs and gently snapping it into place. Secure it firmly to ensure a flush mount. Once mounted, verify that all connections are secure and the thermostat is properly seated for optimal performance.
Configuring the T4 Thermostat

Configure your T4 Thermostat by setting up initial preferences, programming daily schedules, and testing all system functions to ensure proper operation and optimal performance;
4.1 Setting Up the Thermostat
After installation, power up the T4 Thermostat and follow on-screen prompts to select system type, preferred temperature units, and language. Ensure the furnace door is closed and batteries are installed correctly. Use the touch interface or remote sensor to navigate settings. Confirm wiring connections match the system requirements for heating, cooling, or heat pump configurations. This initial setup ensures accurate temperature control and system compatibility.
4.2 Programming the Thermostat
Programming the T4 Thermostat allows you to set temperature schedules tailored to your daily routine. Use the touch interface to create up to six daily periods, adjusting heating and cooling targets. Select system preferences like heat pump or standard HVAC modes. Enable energy-saving modes to optimize consumption. If equipped with a remote sensor, program based on remote temperatures. Ensure schedules align with your lifestyle for maximum comfort and efficiency. Regular updates may be required for software enhancements.
4.3 Testing the System
After installation and configuration, test the system to ensure proper functionality. Restore power and check if the thermostat activates heating or cooling as programmed. Verify that temperature adjustments respond accurately and the display updates correctly. Test all programmed schedules and ensure remote sensors (if installed) influence the temperature readings. Check wiring connections for any issues and ensure the system operates without malfunctions. Perform a quick functional test as outlined in the manual to confirm everything works as expected.
Advanced Features of the T4 Thermostat
The T4 Thermostat offers advanced features like OpenTherm compatibility, remote temperature sensor integration, and energy-saving modes, enhancing efficiency and smart home system control.
5.1 OpenTherm Compatibility
The T4 Thermostat supports OpenTherm technology, enabling precise communication with compatible boilers for optimal heating control. This compatibility ensures efficient energy use by adjusting the boiler’s output to match the home’s needs, reducing energy waste and lowering utility bills. OpenTherm integration allows the thermostat to modulate the boiler’s operation seamlessly, providing a comfortable environment while minimizing energy consumption. This feature is particularly beneficial for modern, high-efficiency heating systems.
5.2 Remote Temperature Sensor Integration
The T4 Thermostat allows integration with a remote temperature sensor, enhancing accuracy by measuring temperature in specific locations. This feature optimizes comfort by enabling precise control based on the sensor’s readings. Installation involves connecting the sensor to the thermostat and placing it in a desired area, such as a living room or hallway. This capability ensures consistent temperatures throughout the home, improving overall heating and cooling efficiency. The remote sensor is particularly useful for zoned systems or large spaces.
5.3 Energy-Saving Modes
The T4 Thermostat features advanced energy-saving modes designed to reduce energy consumption while maintaining comfort. These modes include Eco Mode, which adjusts temperatures during off-peak times, and Smart Recovery, which optimizes heating or cooling cycles. By utilizing these settings, homeowners can lower utility bills and minimize environmental impact. The thermostat also learns usage patterns to automatically switch to energy-efficient operation, ensuring optimal performance without sacrificing convenience. These modes are easily programmable, making it simple to tailor settings to individual preferences.

Troubleshooting Common Issues
Check power supply, wiring connections, and display functionality. Reset the thermostat if it malfunctions. Ensure temperature sensors are clean and accurate. Factory reset if software issues arise.
6.1 Common Installation Mistakes
Avoid improper wiring connections, as this can lead to system malfunctions. Ensure the power is switched off before starting installation. Verify compatibility with existing HVAC systems. Incorrect mounting or alignment of the thermostat can affect performance. Neglecting to test the system post-installation may result in undetected issues. Always follow the wiring diagrams provided in the manual. Failure to secure the wallplate properly can cause operational instability. Double-check battery installation for wireless models.
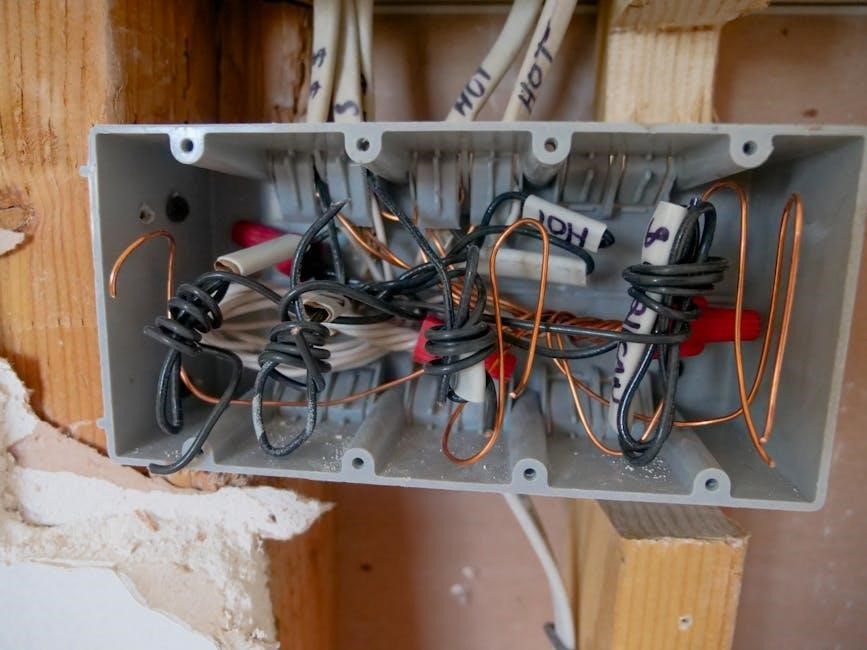
6.2 Resolving Wiring Issues
Ensure wires are connected correctly according to the wiring diagrams in the manual. Verify that all terminals match the system requirements. If wires are loose or misaligned, reconnect them securely. Use the UWP mounting system to organize excess wires neatly. Avoid over-tightening terminals, as this can damage the thermostat. After wiring, power up the system and test functionality. If issues persist, consult the troubleshooting section or contact a professional for assistance.
6.3 System Malfunctions and Solutions
If the thermostat fails to turn on or the screen does not light up, ensure the power is switched on and batteries are correctly installed. For temperature settings not responding, check if the system is properly configured. If the heating or cooling system does not engage, verify wiring connections and ensure the furnace door is closed. Restart the system by turning power off and on. If issues persist, consult the user manual or contact customer support for further assistance.
Maintenance and Upkeep
Regularly clean the thermostat with a soft cloth and replace batteries as needed. Ensure software updates are installed to maintain optimal performance and functionality.
7.1 Cleaning the Thermostat
Regular cleaning ensures optimal performance. Turn off power to the system before cleaning. Use a soft, dry cloth to wipe the thermostat’s exterior and screen. Avoid harsh chemicals or liquids, as they may damage the device. For deeper cleaning, gently remove the cover plate and dust internal components with a soft brush. Never touch electrical parts to prevent damage. Cleaning helps maintain accuracy and extends the thermostat’s lifespan.
7.2 Replacing Batteries
To replace the batteries in your T4 thermostat, first ensure the system power is turned off. Open the battery compartment, usually located on the back or bottom of the device; Remove the old batteries and insert fresh AA alkaline batteries, matching the polarity indicated. Close the compartment securely. If your thermostat uses a different battery type, refer to the user manual for specific instructions. Proper battery replacement ensures continuous operation and accurate temperature control.
7.3 Updating Software (if applicable)
Some T4 thermostats may require software updates for optimal performance. Check the manufacturer’s website or connected app for available updates. Follow on-screen instructions to download and install the update. Ensure the thermostat remains powered on during the process to avoid interruptions. Once complete, restart the device to apply changes. Regular updates enhance functionality, security, and compatibility, ensuring your T4 thermostat operates efficiently and integrates seamlessly with your heating and cooling system.
With proper installation, configuration, and maintenance, the T4 thermostat offers reliable temperature control and energy efficiency. Always refer to the user manual for specific guidance and troubleshooting. Regular updates and maintenance ensure optimal performance. For further assistance, consult Honeywell’s support resources or professional help. Enjoy the convenience and comfort of your T4 thermostat, designed to enhance your home’s heating and cooling experience.